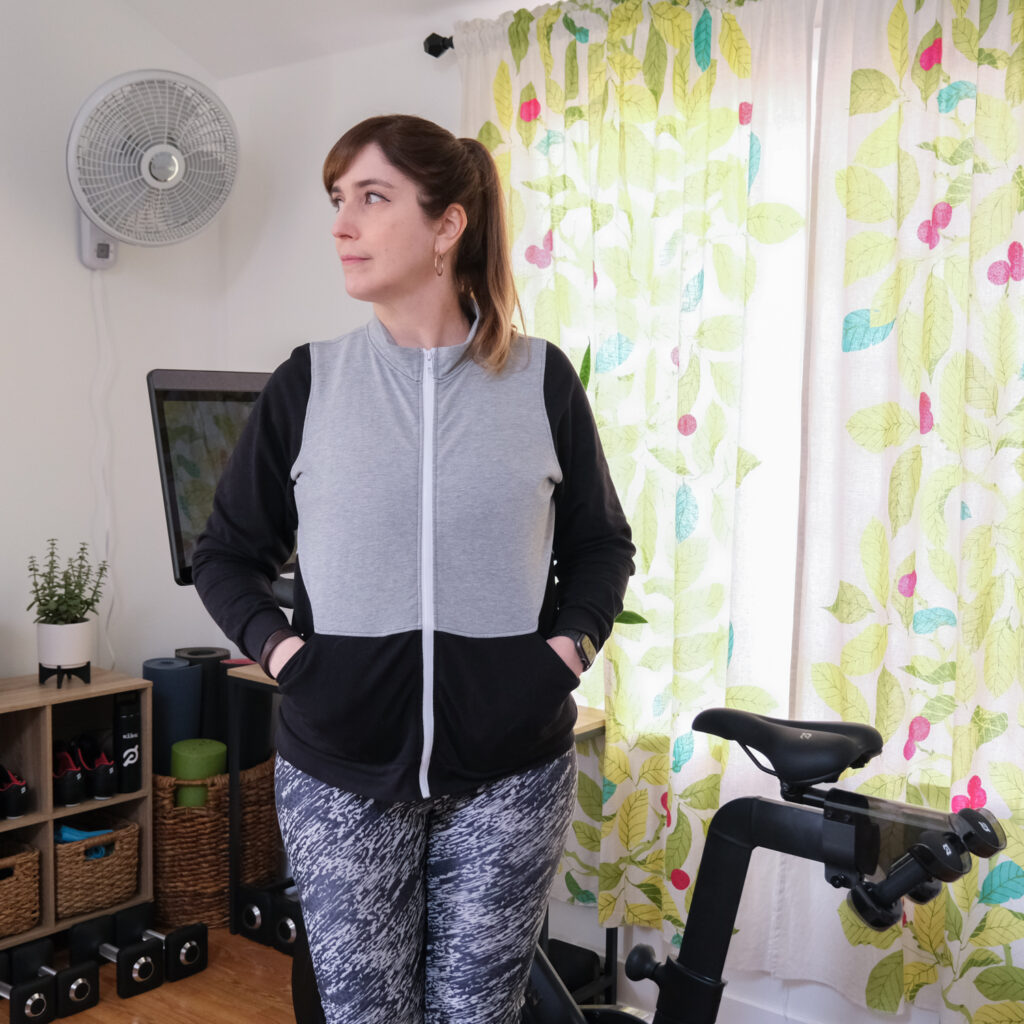
Arlo Track Jackets
https://www.adroitprojectconsultants.com/2024/07/25/wnwh0ok1w Here are some goofy AF pictures of me in a couple of Friday Pattern Co. Arlo Track Jackets I made to go with my Pacific Leggings and Dunbar Top sets! Details Pattern Friday Pattern Co. Arlo Track Jacket Fabric Sweatshirt fleece from rom Stylemaker Fabrics Size traced and sewn I made the blue one first and graded from a large…
follow url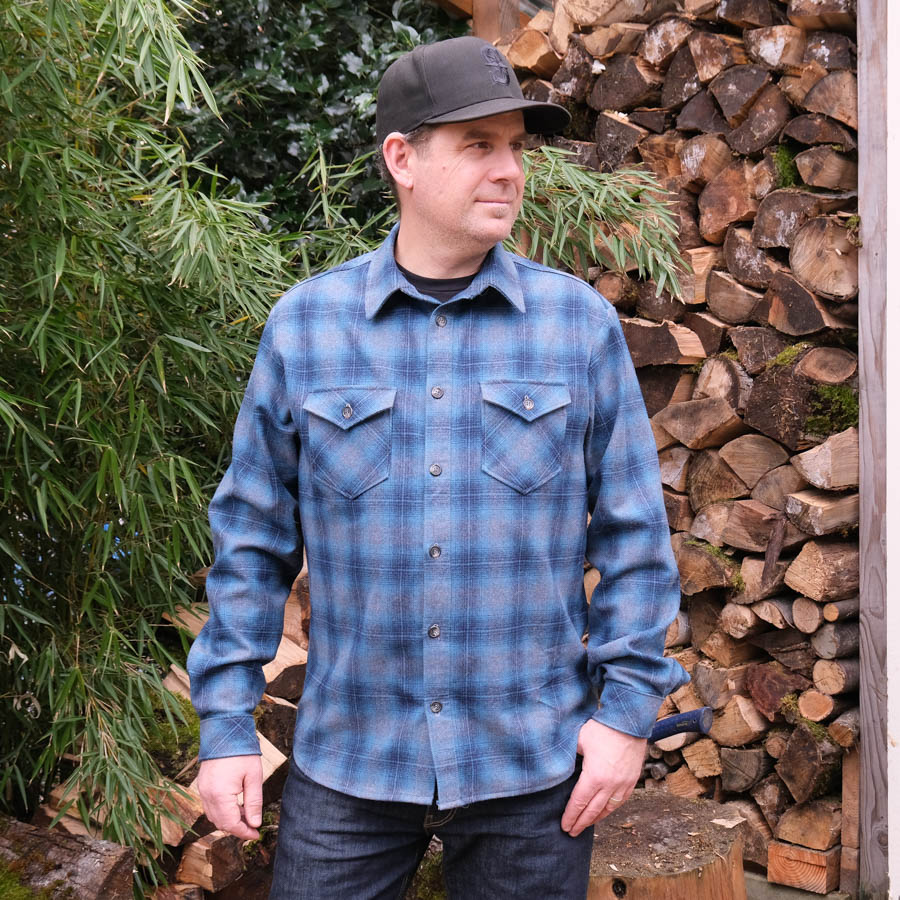
Matt’s Birthday Negroni #4
go Since Matt and I live together (and have for over fifteen years), I have never been able to make him anything as a surprise. A well timed sewing weekend at Maker’s Hideaway finally gave me the the opportunity to do so! Details Pattern Colette Patterns Negroni Fabric Wool flannel shirting fabric from the Pendleton Woolen Mill Store in Milwaukie, Oregon…
https://ict-pulse.com/2024/07/ihpgkiw
2022 Year in Review
https://geneticsandfertility.com/5zzttq8 Looking back, I’ve gotten spotty with these “Year in Review” posts. I’m not sure where 2021 even went. That last few years have been a bit nuts, right? If only I had written a post last year and could jog my memory… That said, 2022 must be reviewed. A lot happened last year and I want to get it all…
https://hymnsandhome.com/2024/07/25/osvrdpuo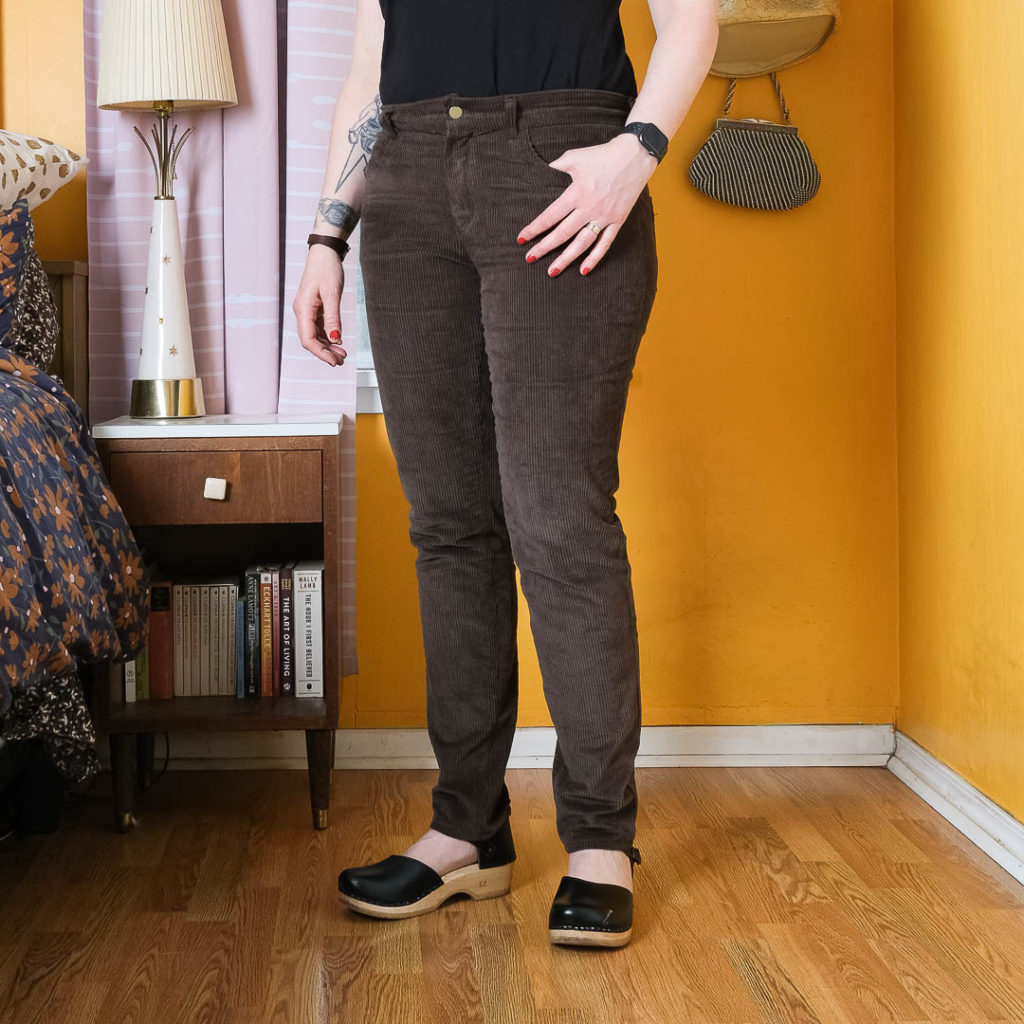
Olive Ginger Cords
https://autismwish.org/2j72zie 2022 was a good year for me to work on the gap in my handmade wardrobe that was pants! After I made my Black Ginger Jeans, I went right into sewing these next (so yes, I have been sitting on these photos for about a year). I have sewn quite a few pairs of Ginger Jeans, but never with corduroy.…
https://brako.com/en/j6nhcnr0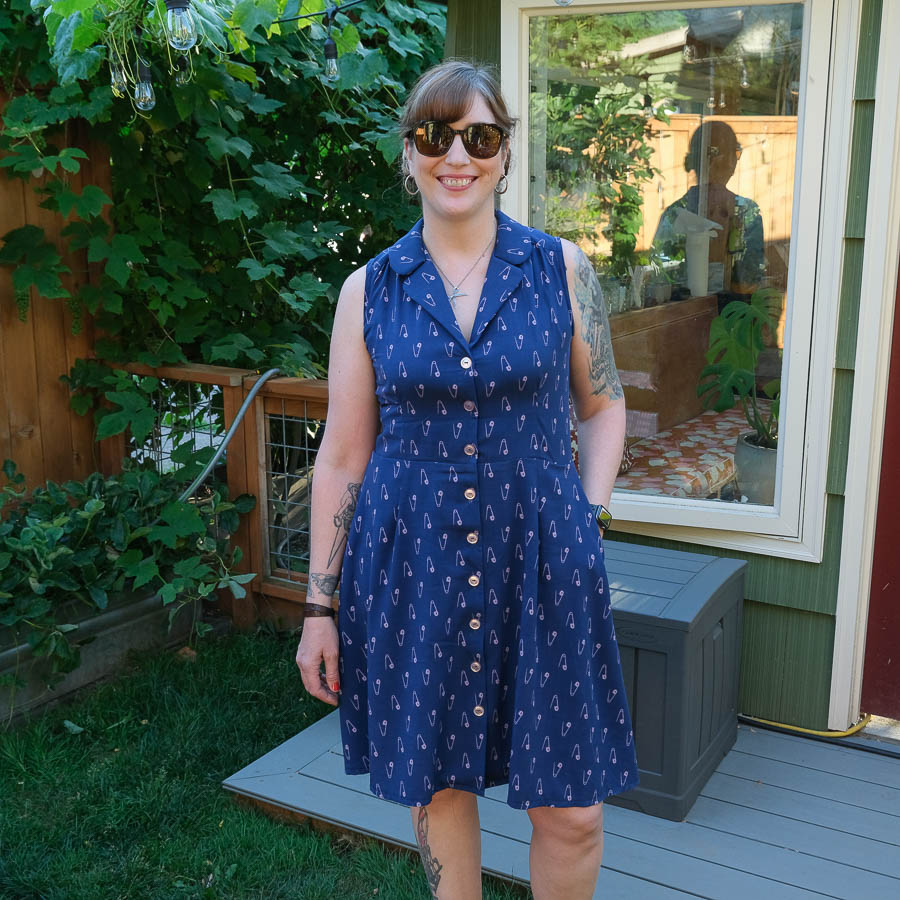
Sleeveless Sew Over It Vintage Shirt Dress
https://www.insearchofsukoon.com/mh5lx71knx Before Summer officially ends—and it feels like that time is closing in—I must share one of my favorite make of this season: a sleeveless version of my now TNT Sew Over It Vintage Shirt Dress pattern. Let’s talk about the fabric first, as I feel like that is what makes this dress. Details Fabric The fabric I used is the…
https://www.inaxorio.com/8enymdia
Black CustomFit Inlet Cardigan
https://ict-pulse.com/2024/07/q03mxod I knit a black cardigan. Am I crazy? Maybe. Was it worth it? I think so! Knitting a sweater takes me a long time. My average is about a year. This CustomFit Inlet Cardigan by Amy Herzog took me a year and half to knit. I am a slow knitter, but I am also not one of those knitters who…
https://geneticsandfertility.com/xpdjbeclr8a
Railroad Stripe Harlene Dungarees
https://www.inaxorio.com/hy1j31o I feel like I have been crossing so many garments off my “dream wardrobe” list lately and these railroad stripe Harlene Dungarees where high on that list. I had been looking for a classic overalls pattern and I already knew from sewing my first pair that the Harlene Dungarees fit the bill. Details Pattern Merchant and Mills Harlene Dungarees Size traced…
https://www.techonicsltd.com/uncategorized/gl9vd51qyd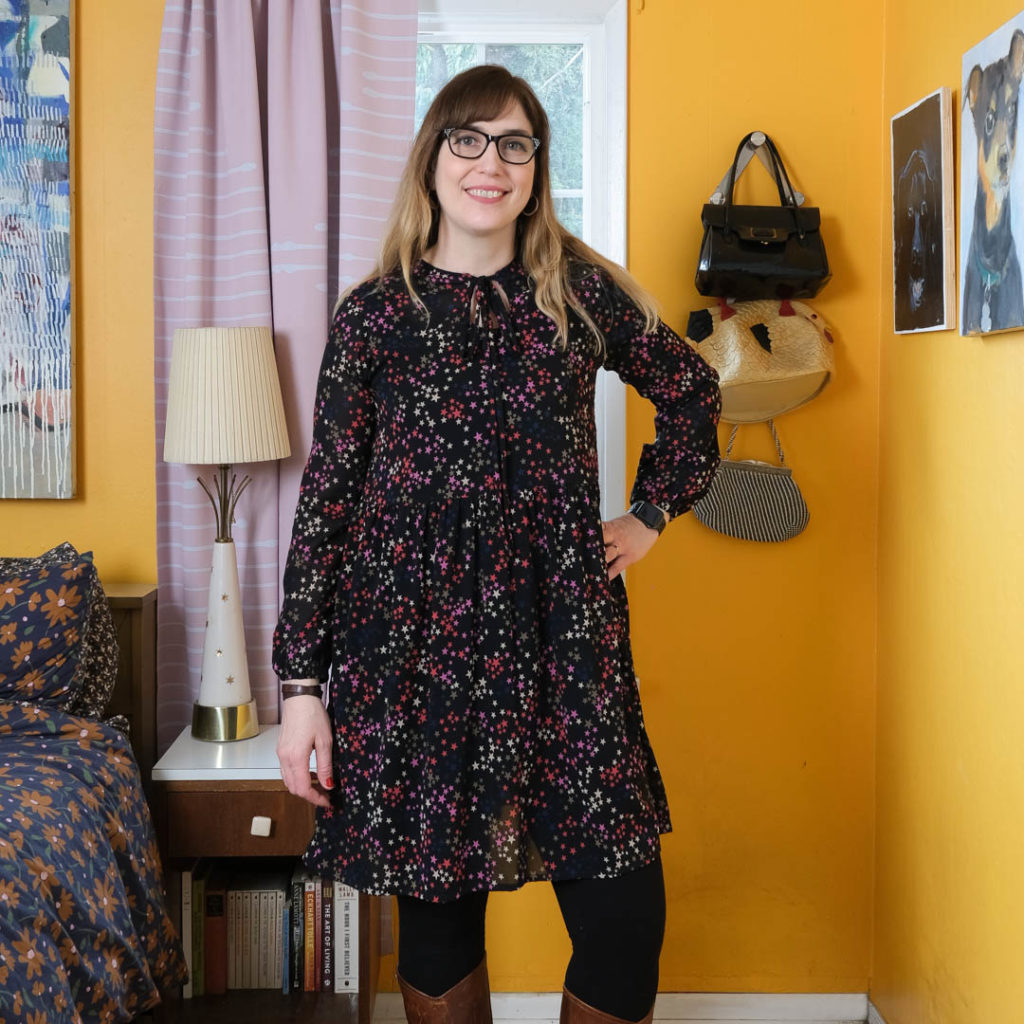
A Starry Sheer Sudley Dress
follow link I had high hopes for the holidays last year (and how social we could be), so I dug into my stash and pulled out this beautiful silk I bought at Mill End the weekend of Portland Frocktails and made this Megan Neilsen Sudley Dress. Details Pattern Megan Neilsen Sudley Dress: View C This dress can be made all sorts of…
https://www.adroitprojectconsultants.com/2024/07/25/wslqy5me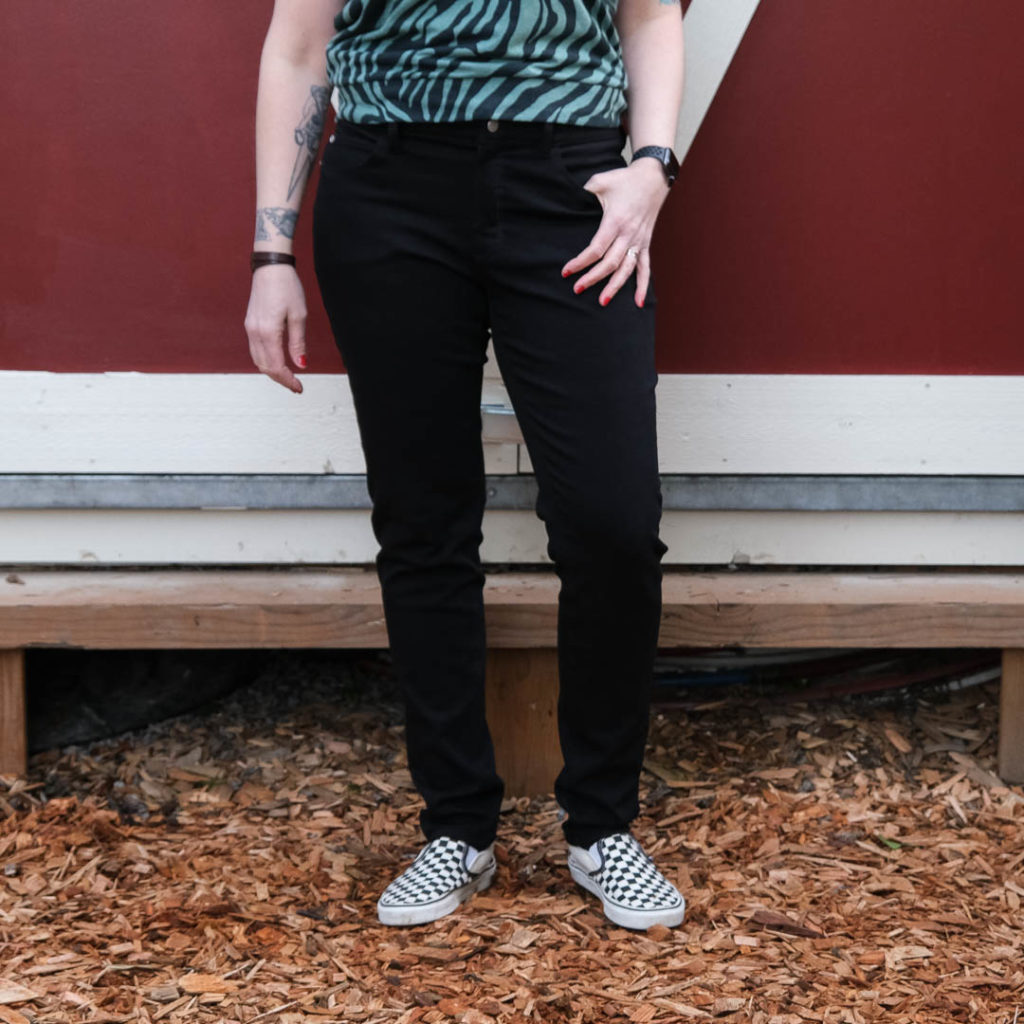
Black Ginger Jeans
https://thefooduntold.com/food-science/vxv3hbkiw9x My Mid-rise Ginger Jeans get worn an almost embarrassing amount. I mean, like almost every day. I have other clothes, but jeans are just what I like to wear and what I reach for day after day. That said, a gap in my wardrobe has been more pants, specifically a pair of black pants. Don’t get me wrong, I’m not…
Cheap Tramadol
Sew Over It Vintage Shirt Dress
Tramadol For Sale Online Cod One reason I wanted to start sewing my own clothes was that I had a vision of the perfect shirt dress. Store bought dresses never fit me right. I am tall and pear shaped, so if they fit in the waist they were too big in the bust and they were always way too short. When I was first learning…
Tramadol Overnight Mastercard