I have always been intrigued by handmade quilts. I know they can be very time-consuming to make, but I have seen hand-stitched quilts made by friends’ mothers and grandmothers and that is exactly why they are so special. A quilt can be an heirloom and a work of art at the same time. Recently, I took the quilting series at Stitch and Sew Studio (part of the West Seattle Fabric Company) and I just finished my first quilt!
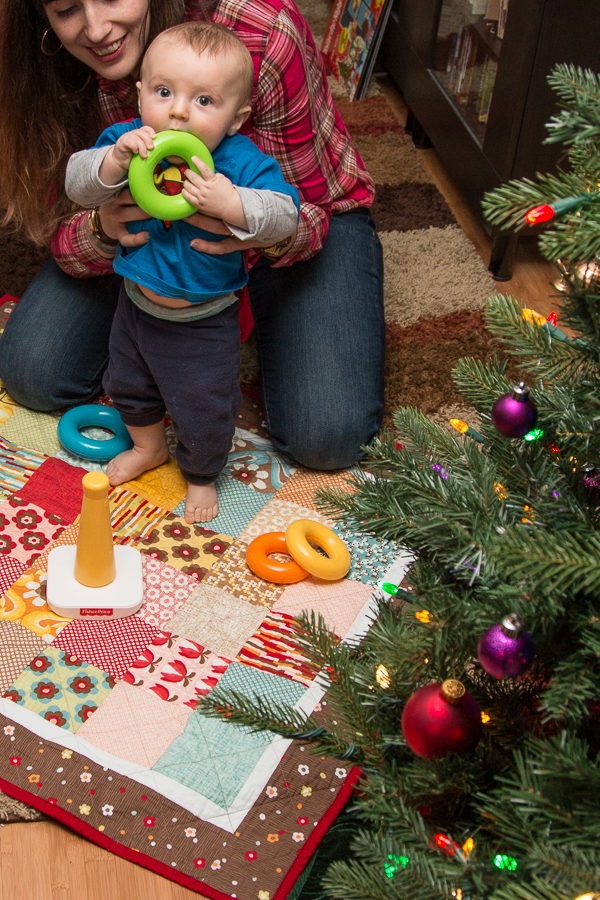
The quilts we made in class were all crib-sized, which made sense for beginners. Having completed my first quilt, I can see how bulky and cumbersome a bigger quilt could be to sew. And guess who I know that is crib-sized? My nephew!
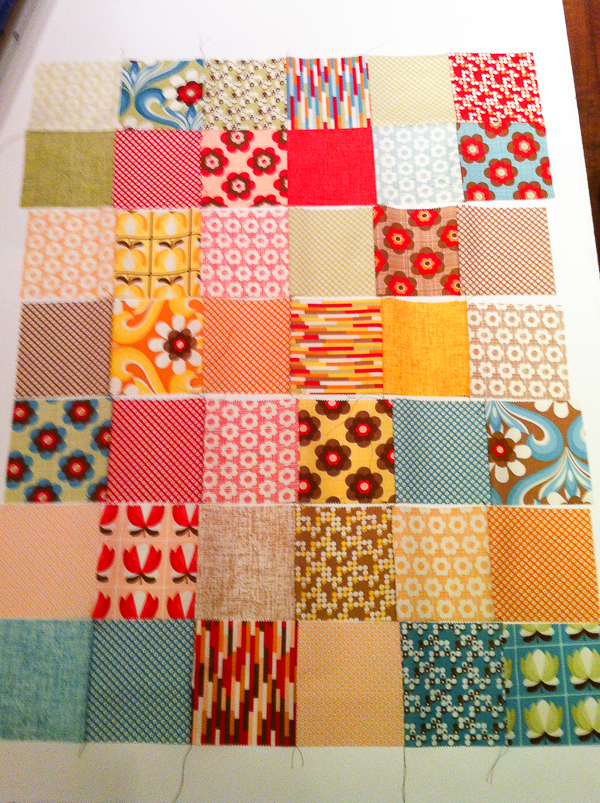
It was a three class series and the first class was “Perfect Patchwork”. For the first class, I bought a package of pre-cut fabric and we focused on how to piece that fabric together to make a patchwork quilt top. This post is a combo of good photos and crappy iPhone pics, so bear with me…
In the second class, we were taught how to make half-square triangles. We focused on making geometric shapes with the triangles and using cool and warm colors to make those shapes stand out in the quilt. I’m not done with that one yet, so there’s no picture. I will blog about it when I finish it.
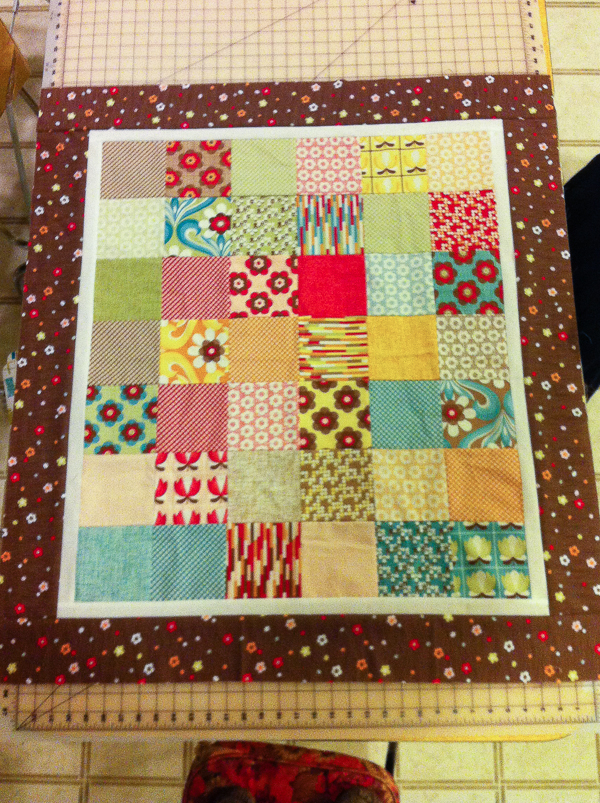
The third class was on quilt finishing. I brought my finished quilt top from the patchwork class and we learned how to do the actual quilting (where the backing and batting are attached) and how to finish the edges of the quilt with binding. Since I went into the class series knowing the quilt would be for a six-month old, I chose a soft flannel for the backing.

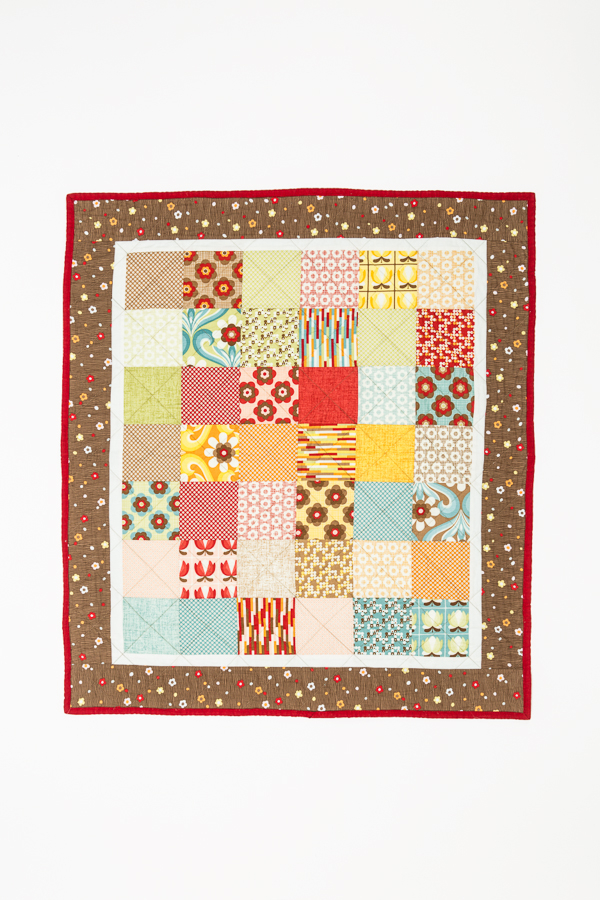
Sometimes when I take a class, it’s something little I learn that sticks out the most. The instructor, Sue, taught us that whatever color thread we put on the bobbin, will be on the back of the quilt and whatever color we put on the main spool, will be on the front. It was so simple and obvious that it totally blew my mind. I got really excited and then immediately bought some blue thread that matched the blue backing perfectly. I really like the way it turned out. You can see the pattern of the quilting, but not the thread as much.
For this quilt, I really like the way that looks on the back. I’m not so fond of how the brown thread on the front looks though. In hindsight, I feel I should have gone for a simple white thread. On the front, some of the “X” shapes really pop and some you can’t see at all, and that kind of bugs me.
I have been sewing lots of binding for my oven mitts and potholders, but the method they showed us in class was different and required less ironing, so it was better and easier! There is a tutorial for it here, written by an employee of the West Seattle Fabric Company. I then followed her machine binding method as well. There was talk in class of hand-sewing the binding, but I am not a lover a hand-sewing. The author, Jera, suggests machine binding for crib quilts, which get multiple washings. There was my permission to machine stitch!
I stuck the matching blue thread back in the bobbin for the binding and used a red thread for the top stitch (to match the red binding) and was happy with the way it turned out. With the matching blue stitch on the back, the stitches on the back are very subtle… and consistent. This method also makes for very nice corners, which I have found can be tricky with binding, so it was cool to learn a new way to do binding. This may be the route I stick with for binding quilts.
Now that I am finished with this quilt, I understand the allure of quilting. This particular quilt took awhile, only because my classes were spread out over several months. It seems like it would have been a fairly quick sew otherwise. I can see how some of the more complicated quilts would take more time… and space. I will be finishing my other quilt and there is a crib quilt in the book Dare to Be Square (another author from Seattle), that I want to make that has a wiener dog on it! I also have a pattern for a really cool houndstooth quilt that I would love to make, but I want to make a full size quilt of that pattern, so I will have to navigate the space issue for that one. I also want to look into places I can get long arm quilting done. The sewing shop near my house and the fabric store near my work both do it, so I’ll be looking into that as well. Those are my only future quilting plans though, so far. I want to get back into making garments and have my wedding dress to focus on now, so there may not be a whole lot of quilting in my near future. I am so glad to have learned it though and am looking forward to exploring it more whenever I can!
Beautiful job, Lilly! Love the fabric you chose for squares.
Thanks Michelle! Those were pre-cuts, so it just came in a little pack of pre-cut 5″x5″ squares. The design was Boho by Moda, I think. It’s the same designer as the fabric I used for the oven mitts and potholders I made recently!
That’s very lovely. I need to make another one soon.
I think your first quilt turned out great! I like the brown thread you used for your top stitching, I’ve been seeing contrasting colored thread used more on quilts and I like its modern effect. As far as some of the “x’s” showing up and other’s not so much, that’s part of the charm of quilting, that some squares stand out more than others, and I personally think it would be not as attractive if they all had the same value. I just found your blog and look forward to reading other pages. Thanks for the inspiration to get back to sewing!