Invitations for our wedding presented an interesting challenge for Matt and I. Neither of us are good at graphic design and we didn’t have it in our budget to hire someone. I briefly looked at websites like Minted and Wedding Paper Divas and while there was a wide variety of customizable designs on both of those sites, I still wasn’t seeing exactly what I wanted. When it comes to designing something on my own, one of my limitations has always been that I don’t know Illustrator or InDesign. Enter in Creative Market. Creative Market is like Etsy for designers, with all sorts of unique and affordable fonts, graphics and themes. As a photographer, I do know Photoshop and that was all I needed to know to be able to use the design elements I purchased.
Here are the elements I purchased:
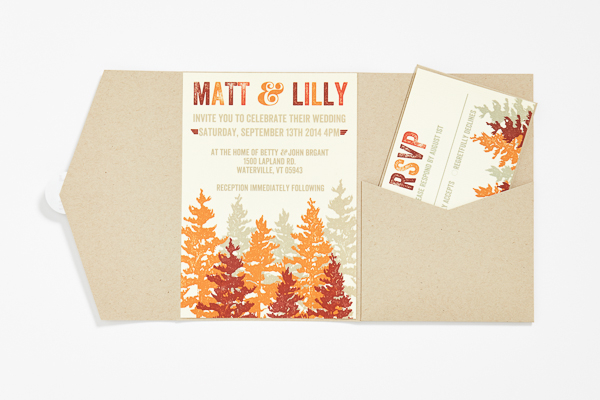
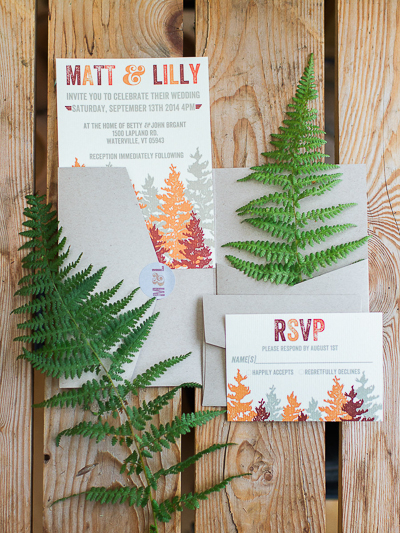
Font- Veneer by Yellow Design Studio
I purchased the web and desktop fonts, so that I could use them on our wedding website as well as in Photoshop.
Tree Graphic- Vector Clip Art Evergreens Pack by Artist of Design
Stamp Effect- Texture Press- Ink Stamp Effects by Vintage Design Co.
He also has a really cool Instagram where he showcases his work- Instagram.com/ianbarnard
Wedding Website WordPress Theme- Me + You, A Wordpess Wedding Theme by Angie Makes
I am a big fan and returning customer to Angie Makes and she designed the template I use for this blog as well. Again, I looked at customizable wedding websites, like the Knot, and didn’t see what I was looking for. I found it all in this theme, so it was worth the money and I was happy to support Angie again. This is a really great wedding website theme as it includes a countdown clock, a registry page, a guestbook feature, a page for location and direction info, the ability to RSVP through the website and so much more. It was pretty quick to set up too. Here’s what we did with it- www.mattandlilly.com
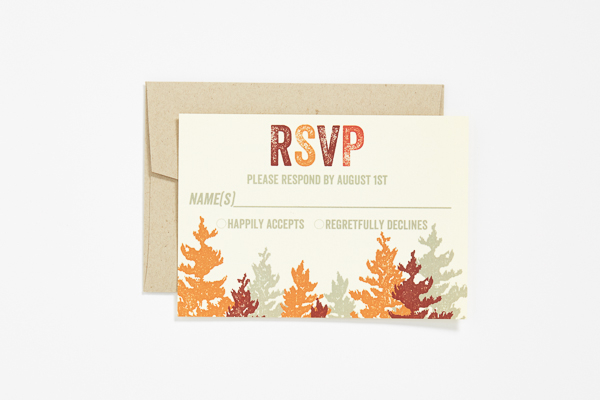
The Veneer font already had a stamp effect to it, but I wanted the tree element I was using to match it. I couldn’t figure out how to do this in Photoshop on my own, so I was very happy to find Texture Press. The description says, “TexturePress uses Photoshop smart layers (smart objects), so all you have to do is paste your compound artwork in to the smart layer, save and you’re done.” There were a few more steps to it than that (since I wanted the tree layers to be specific colors), but it came with detailed instructions, so it was easy enough.

I think I got the most mileage out of the font. We used it for so many things, including our table cards and banners (which I will show you in another post), save the date cards, and last but not least, thank you cards.
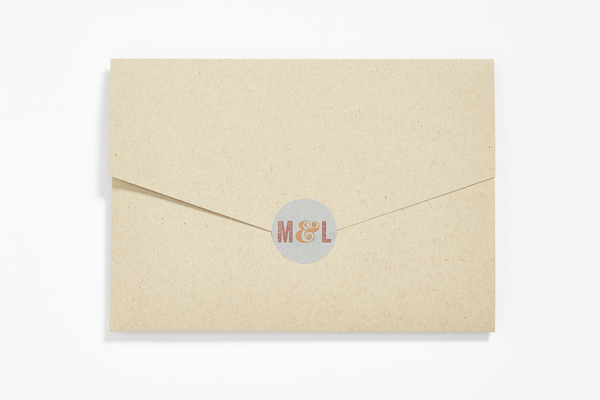
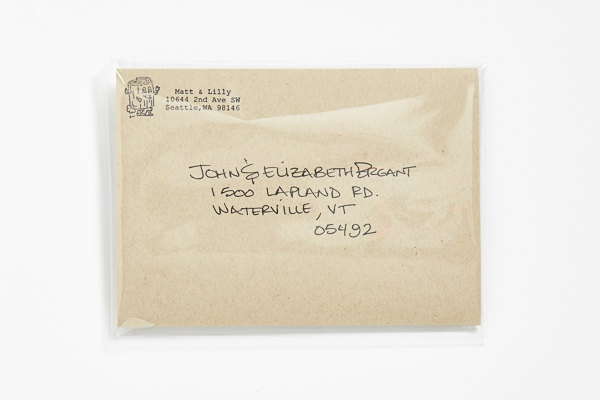
We had them printed by Zazzle and were very pleased with the turnaround time, quality and price (they have sales all the time). One thing I didn’t realize when ordering them, was that what I thought were envelopes were more like folders and when closed were still open at the top and bottom, so the invitation and rsvp cards could still fall out. That said, they couldn’t be mailed as is. There are outer envelopes that I could have ordered, if I had realized this. Since we didn’t want to wait for those to be shipped to us, we solved the problem by writing the addresses on the outside of the folders and then sealing them in clear envelopes from Packaging Specialties (which is a local brick and mortar near us, so we didn’t have to have them shipped). I got printable stickers for sealing the folders from there as well and printed our initials on them. We checked with the post office first and as long as you put the stamp on the outside of the clear envelope, they mail just fine. In the end, I think it looked kind of cool and everyone got their invites no problem. So it was a happy accident!
There you have it: a cohesive, branded wedding suite.
I can get so frustrated when trying to design outside of my ability, so by purchasing design elements like fonts and graphics, I was able work within my skill limit and it was totally not stressful at all (which should be the goal when planning a wedding). It was actually kind of satisfying! We wanted to make our invitations ourselves, but aren’t graphic designers, but still wanted something unique… so I feel like this was the perfect way to go for us. If you are in the same boat, I would highly recommend checking out Creative Market. All it cost was $83.50 total for all the fonts and graphics, plus $70 for the WordPress theme (printing costs not included). The fact that I had a fun, stress-free experience designing all of this, makes it totally worth it and I got to support indie designers in the process!
*This is not a sponsored post. All opinions are my own.
I too know Photoshop (ok, I can get along in Photoshop, my photographer husband & I joke that I understand it on it “need to know” basis), but have not yet been able to justify the cost of InDesign or Illustrator… Thanks for sharing the info about Creative Market, I will check it out next time I’m looking for fonts, etc!
I feel the same way about graphic design. I’m definitely a photographer at heart. 🙂
I’ll have to keep this post in mind when I’m ready to make my own invitations. Yours looked fantastic!
Congratulations!